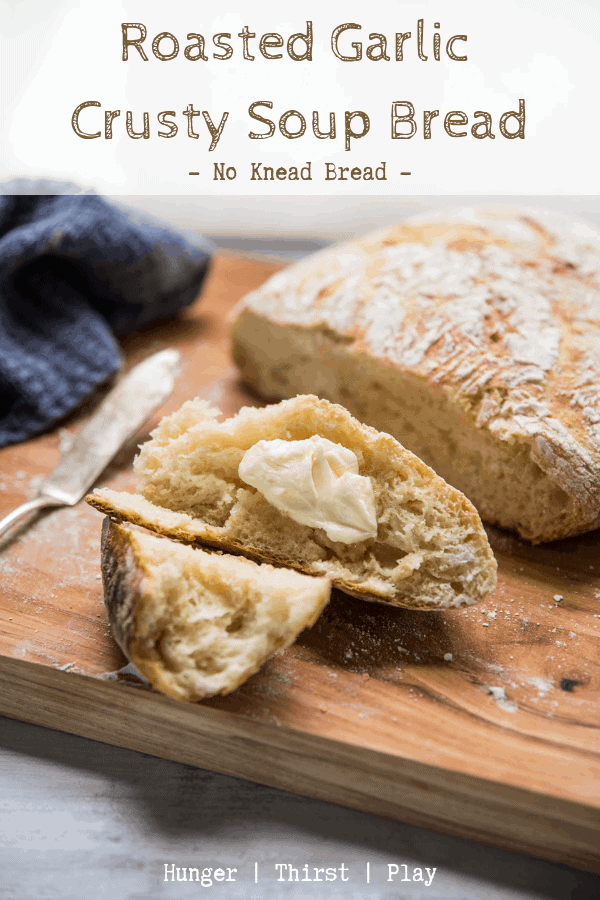
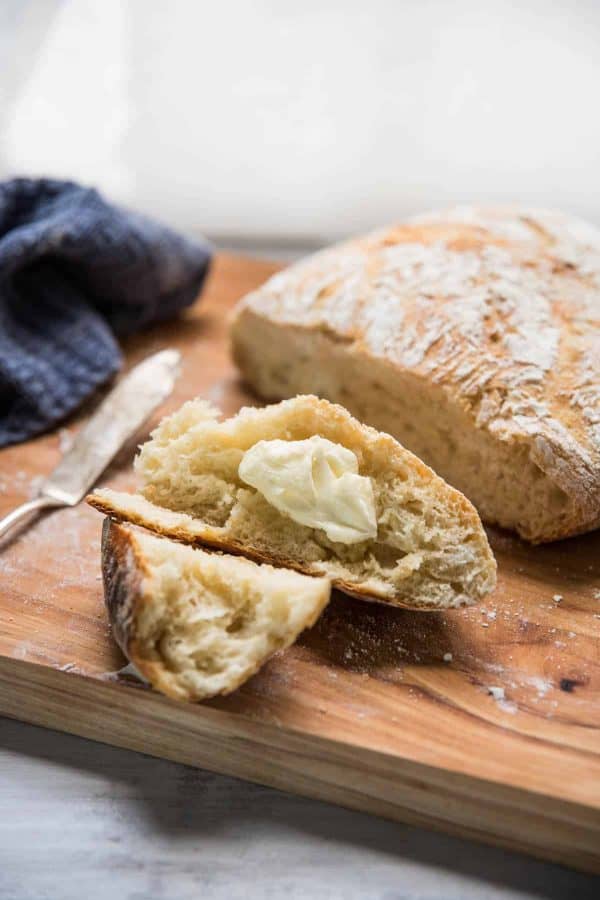
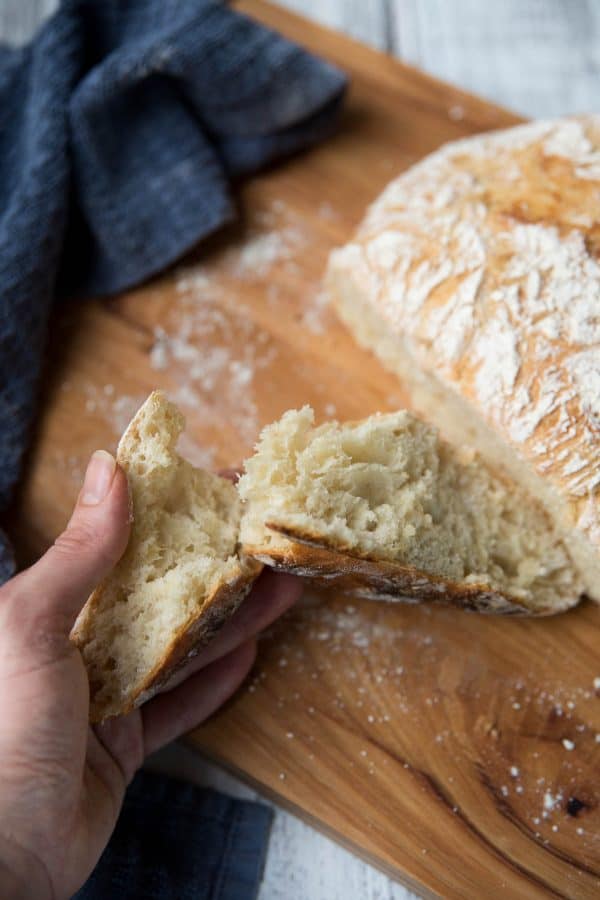
Crunchy, crusty exterior gives way to tender, soft, white bread laced with sweet, roasted garlic. It is everything you need in a simple, no knead recipe for roasted garlic crusty soup bread.
Rolling in deep on the carb train this week. (AKA living my BEST comfort food life.)
Puff pastry on Monday, Crusty Soup Bread today...we will have to find some balance in the hidden veggie soup because once this bread comes out of the oven you are going to need a bowl of something hot and delicious ASAP.
This Roasted Garlic Crusty Soup Bread is exactly that - best friends forever and ever with soup. You can practically hearing it yelling for soup while it's in the oven. Or maybe that's because is hella hot in there, but I'm going with the first reason.
But let's not stop at soup please! Let's come up with all the reasons to turn this sweet, creamy roasted garlic bread into food nirvana. Like classic pot roast or to go with super juicy roast chicken.
Tips for bread baking tools
While we don't need super fancy equipment, there are a few more than bare bones kitchen gadgets I'd recommend for a successful, minimal effort, awesomely crusty on the outside, soft on the inside bread.
- Standing Mixer. It's for more than just baking! Being able to utilize the standing mixer to beat the bread, rather than having to knead it by hand is such a time saver. While I appreciate a good kitchen work out as much as the next home cook, I think being able to do two things at once is much nicer. This mixer is the one in my kitchen, a nice banana yellow.
- Thermometer. You can use any thermometer, it doesn't have to be specific to baking. I love love my digital meat thermometer. It's used to temp the water before adding the yeast, this way you can ensure the water is warm enough to really get the yeast growing and not too hot that the yeast dies.
- Dutch oven. There is so so much you can do in a dutch oven and baking bread is just a small portion on that list. Short ribs, roasts, soups...it instantly warms my heart thinking of dutch oven cooking. While it seems like a hefty price tag, if you're really into cooking I'd consider it a worthy investment. My tip is to check out discount stores like Homegoods, TJ Maxx, Marshalls, or shop the after holiday sales. You can usually score a high quality one for half the price (speaking from experience!) . Something like a 5 or 6-quart is super versatile, like this one here. The point of the dutch oven is to create a super hot enclosed environment to bake the bread, achieving that 'tear it with your hands' outside texture.
- Proofing Basket. I don't personally own a proofing basket, but if you do plan to start taking on more at-home bread baking it would be worth the investment. It's great for this bread (but not required), sourdoughs and more.
Once you've got your tools ready to go, it really is just a matter of a few small steps.
How to make no knead Crusty Soup Bread
To really get the party started, you'll need to roast the garlic first. This will give it time to cool down before being added to the dough. It will also make everyone in your house drool like crazy and extra appreciate your domestic prowess.
Proof the yeast. Using the thermometer we talked about, make sure the water is between 100°F and no more than 110°F. Yeast is a little dramatic and has to have just the right temperature with a little bit of sweet in order to cooperate. Gosh, yeast, stop being such a diva.

Clockwise from top left: roasted garlic cloves; dough after first rise; dough after tipping out of bowl after first rise; folding the corners of the dough onto itself before the second rise.
Once the yeast is nice and foamy it's really just a matter of mixing ingredients, and two rises. No kneading, no punching down, no tears of frustration, just a little shaping. Then its a short bake in a super hot oven and you're the proud baker of ridiculously delicious roasted garlic crusty soup bread.
What are you going to serve with your bread??? Tell me all about your delicious creations in the comments!
Roasted Garlic Crusty Soup Bread
Ingredients
- ½ cup extra virgin olive oil
- 1 head garlic
- 2 ¼ teaspoons active dry yeast (1 packet or 7g)
- 1 teaspoon granulated sugar (4g )
- 1 ¼ cups warm water (283g, see note)
- 1 ½ teaspoons salt (about 7g )
- 2 ¼ to 2 ½ cups all-purpose flour, plus more for sprinkling over the dough (288g to 320g)
Instructions
- Roast the garlic. Line a small, oven safe skillet or dish with aluminum foil. Place the garlic, with the top of the head removed in the center. Pour the olive oil over the center and then close the aluminum foil around it to enclose it. Roast in a preheated 375°F oven for 20 minutes or until garlic cloves are very soft. Remove from the hot oil and let cool before squeezing each clove of garlic from the skin.
- Prepare the yeast. Combine sugar and 100-110°F water in the bowl of a standing mixer fitted with the dough hook. Mix in yeast and let proof for 5 minutes until foamy.
- Make the dough. In a medium size bowl, mix the kosher salt and flour together. On low speed, add the dry ingredients to the yeast mixture slowly. Immediately after adding all the dry ingredients, add the roasted garlic cloves and mix until the dough starts to pull away from the sides of the bowl.
- Generously sprinkle flour over the top of the dough and flip over in the bowl. Sprinkle flour over the top again and cover with a kitchen towel. Let rise for 1 hour in a warm place.
- After the first rise, flour a flat surface and gently tip the dough out of the bowl onto the floured surface. You want to disturb the dough as little as possible to keep all the air bubbles that formed during the rising. Do not punch down the dough.
- Fold and shape the dough. Again, sprinkle the top of the dough with flour and gently fold the four side of the dough on top itself. Turn over and shape into a loaf. Transfer to a small, floured bowl.
- Rise again. Cover the bowl with a kitchen towel and let rise in a warm place for 30 minutes. While the dough is rising, preheat the oven to 460°F with a dutch oven (with the lid on) inside.
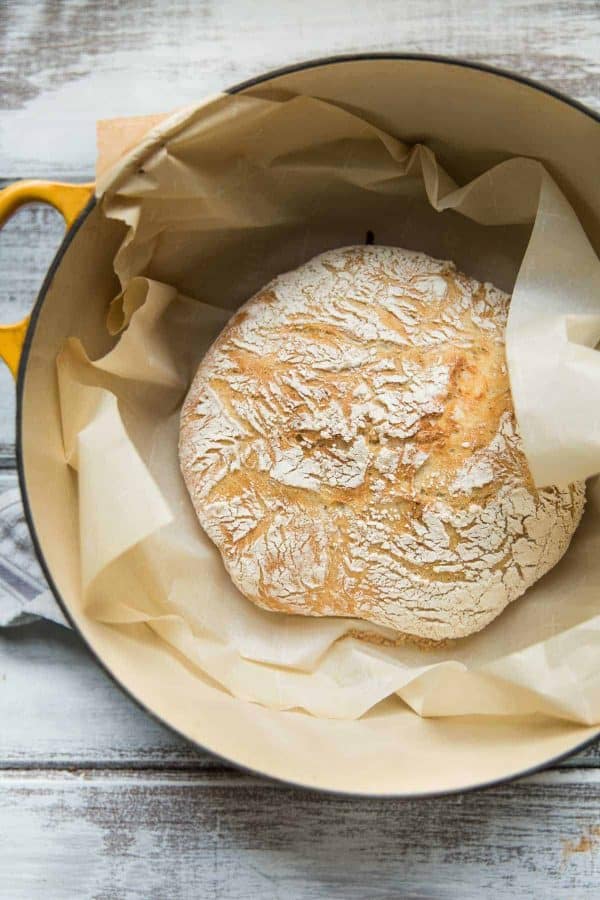
- Bake. Once the dough has rises and the oven is to temp, very very carefully remove the hot dutch oven and the lid. Place a piece of parchment paper onto a flat surface and gently tip the dough out of the mixing bowl - seam side up - onto it. Transfer the loaf and the parchment paper into the hot dutch oven.
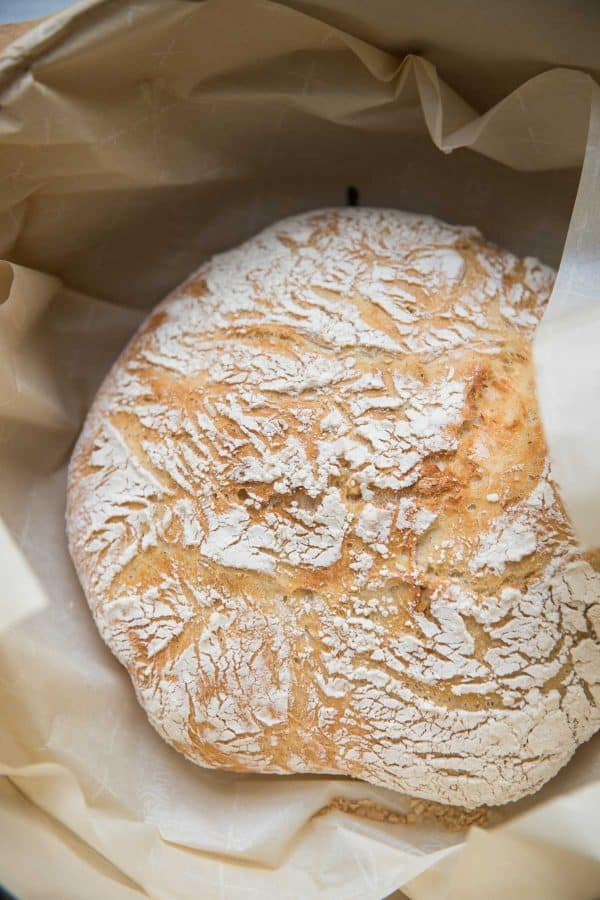
- Cover the dutch oven with the lid and bake for 30 minutes. After 30 minutes, remove the lid and bake uncovered for 10 to 15 minutes or until crust is a beautiful browned color.
- Use a spatula and oven mitts to transfer the hot bread to a cooling rack. Let cool for about 15 minutes before cutting or tearing into it.
Notes
- Humidity and warm weather will affect how the dough comes together. If it's a warm summer day or particularly humid, try reducing the water by 10% (in this recipe you would reduce to 1 cup warm water). Or you can add a little extra flour until the dough starts to pull away from the bowl - about ¼ to ½ cup flour.
- If your dough is sticking to the bottom of the bowl, use a floured hand to gently pry the dough from the bowl.
Anand says
Wow, absolutely great with vegetarian stew on a cold winter day! Made the house smell fantastic. The roasted garlic made the bread. I've made some breads with regular garlic, but the roasting is a must step.
We normally eat whole grain bread, so next is to try this with whole wheat flour, and a couple of modifications to try to get it to be as airy as this one. I will let you know when I do it!
Candice B. says
I have made this twice, exactly to the recipe & it has turned out amazing both times! Even our teenager, who isn't a huge fan of garlic loves it & was actually the one who asked me to make it the second time! Don't let the instructions intimidate you, just try it & you may be pleasantly surprised!!
Temple says
Is 460° correct for the oven temp? I've never baled anything that high. The parchment paper says only go up to 420°??
Lauren says
Yes! As long as the parchment paper is in a dutch oven you'll be fine. I'll bake with it in my DO up to 500 when I'm doing sourdough loaves and never have an issue, though I wouldn't recommend higher than 425 if you were using parchment on just a regular sheet tray.
Rachael E French says
I made this bread last night, and although it came out (IMO) amazing. I did have some trouble with the dough after mixing. Right when it started to pull away from the sides, it immediately went back to sticking. I then pulled it off the hook to try and get it back together but the dough was so extremely sticky I couldn't handle it at all. I added more flour to the mixer and it still had some trouble. Eventually, I just coated the bottom and the top with flour as directions said before the first proof. My question is, Did I do something wrong to the dough as mixing?
Lauren says
This dough is a bit sticky. Once it pulls away from the sides of the bowl, you're good to go. Your troubleshooting methods are exactly what I would recommend!
Zach says
Do you chop the garlic after it is roasted?
Lauren says
You can, but I usually leave mine whole.
Tia says
Can I make this without a stand mixer? I am a decent baker but new to the bread territory, I am gonna give this bread a try this week!
Lauren says
Yes! You definitely can. It might take just a little bit of gentle kneading since you won't be using the mixer to incorporate the ingredients, but nothing aggressive.
Miriam Wedel says
Can't wait to "try" baking this. It looks exactly like the bead I had in mind for my Cheesy Ham & Corn Chowder. Is it just as good a day after baking or is it best to eat it right after baking it?
Lauren says
It's best if you eat it the same day! The crust might lose some of that crunch once wrapped up overnight, but it's still tasty the next day.
Charlotte says
I’m a newby bread baker, but this is far and away the best bread I’ve made so far! I didn’t have any parchment paper, so dropped a little crisco in the hot dutch oven before adding dough, it was perfect.
Perfect with some potato beer cheese bisque, everyone in my house loved it, my only regret is not doubling the recipe!
Lauren says
Potato beer cheese bisque!!! Oh my goodness, that sounds amazing!
Morgan says
I made this bread this weekend and it was SO GOOD! Definitely very soft, which surprised me. The garlic taste was so good and the bread delightful. My boyfriend and I couldn't stop eating it!
The one correction that needs to be made is the amount of time to roast the garlic. Getting the garlic to be roasted and creamy took about 45 minutes, not 20. This made my timing off for adding the garlic to the sitting dough. Since it took longer, I had to add it after my dough was made and had sat for about 25 minutes. I then let it rise for an hour after I added it since I had to mix it in and mess with the dough to add the garlic. Still turned out great, but please make that correction so others don't time it wrong like I did!
Lauren says
Thank you Morgan! I'll definitely take a look at those adjustments, thank you for the feedback!
Emily says
I made this yesterday and was convinced I had ruined it. I don’t have a mixer, so I did it by hand. It stuck to the bowl and lost a bunch of air both times I tried to transfer it, and I couldn’t get it to fold properly. Despite everything, it was delicious!! Can't wait to try it again!
Connor says
I’ve made a lot of bread and I wanted to try out other recipes than the ones I’m used to. This recipe does not call for nearly enough flour. When I was making it I immediately knew it wasn’t enough, but I kept going. First batch was horrible, clearly because of the wet dough. Tried a second batch, added more flour, and I mean a LOT more (like 2 cups) and it came out great. Add 2 more cups to the recipe. The ratio of flour to yeast is so off. It should be more like 4-5 cups flour and 1teaspoon of yeast.
Lauren says
I'm sorry this recipe gave you trouble! I'm not quite sure what caused quite the difference in the need for flour. If it's particularly warm or humid, sometimes that can cause our breads to misbehave. Either way, thanks for your feedback and for giving the recipe a try! I appreciate your input!
Unknown says
Great taste!
Megan says
Made this tonight and it was delicious!
My dough was super wet - like pancake mix - so I ended up having to add more flour and turn up the speed on the mixer before it would start to come together. My garlic didn’t really go mushy either, despite giving it extra time, but that may be because it was starting to sprout. I ended up blitzing it with a stick blender to mush it up a little more.
All in all, I found the dough really difficult to work with (even though all ingredients were weighed), but the taste and texture were amazing! Great chewy crumb and crunchy crust. Will try it again.
Liz says
THANK YOU!! I cannot bake anything, but this was the best bread ever. You’ve given me a great gift!
Lauren says
So glad to hear Liz!
Bethany says
I bought a cast iron Dutch oven specifically to make this bread. I've not got much bread baking experience, but this recipe sounded simple enough, but it was a bit vague for someone as amateur as I am!
When I roasted the garlic, I cut the top off the center of bulb of garlic and poured the oil over, after the recommended time, it wasn't roasted so I turned the oven up 25 degrees, opened the foil and let it go another 10 minutes.
I had to add more flour than called for in my mixer as the dough was still quite wet, I suspect humidity was the issue as I'm in the South.
When I removed the top of my Dutch oven for the final 10 minutes, it looked like the bread top was already browning. I wasn't confident as the garlic had taken so much longer so I did the full 10 minutes. The result was still good, however the bottom of the bread was burnt. 😔 We just cut it off and devoured the bread.
I can't understand why one thing (garlic) would need longer in the oven and the other (bread) be done faster.
My taste testers thought it could stand to have even more garlic and salt. Again I had to add more flour and I suspect that is why.
Thank you for the recipe, and if you have any bread baking for dummies advice I'd love it! ☺️
Lauren says
Bethany! Thank you so much for trying this recipe and taking the time to send in your feed back! The hardest part of baking bread is just getting started. The more you do it, the more you'll know what to look for. With regard to the garlic, sometimes the baking time can vary depending on the age of the garlic, how much oil got into each little 'pod' of garlic clove and if the foil is totally sealed. As for the timing of garlic vs bread question, I'm not 100% sure of the science, but I would imagine the bread bakes faster because of the yeast/air/flour combo vs garlic being denser...but don't quote me on that.
With regard to the bread, did you measure the flour with cups or by weight? Generally, when I'm baking bread I tend to weigh it because sometimes measuring cups aren't 100% accurate. Also, with this recipe, the dough may still be a little 'sticky' towards the bottom of the bowl and that's ok! As long as most of the dough is pulling from the sides then you should be good to go. Another general tip, is that I would highly recommend using a thermometer to temp your yeast liquid (whether for this recipe or another) to make sure it's not too hot or too cold - yeast is kind of like the Goldilocks of the baking world. Lastly, all ovens tend to vary slightly when it comes to temperature calibration. If buying an oven thermometer sounds like too much work, it sounds like from your attempt here you could just cut the bake time by 10 minutes. Another factor is how your oven is heated (gas vs electric) and where the element is and also if your oven has convection capabilities (it will cook faster if it does.) If the bottom of the bread is baking too fast you could try moving the dutch oven up another shelf to move it away from the heating element in the oven.
I hope you find these tips helpful! I'm honored you chose this recipe to make and serve your family, thank you so much!!
Bethany says
I tried your tips and this time it was perfect! I served it on Thanksgiving and everyone went wild about the crust, garlic, and how soft the inside of the bread is. Weighing really helped, as did knowing what to look for when it was done mixing. I did discover my ovens proof function is too hot and I ruined a pan of rolls to figure that out.
This bread recipe is to die for! Thank you!
Lauren says
Bethany!!!!! I'm SO happy! Thank you for sharing this with your family <3