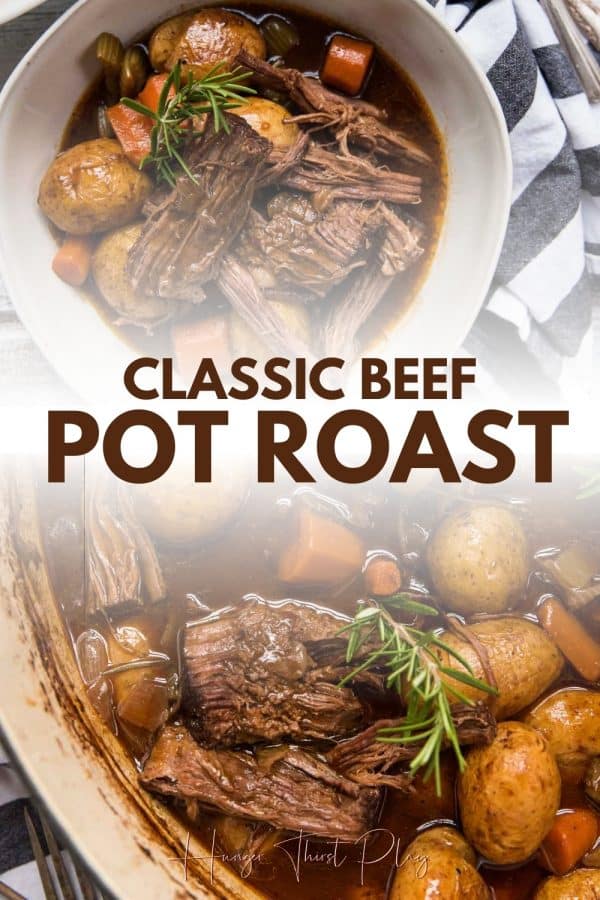
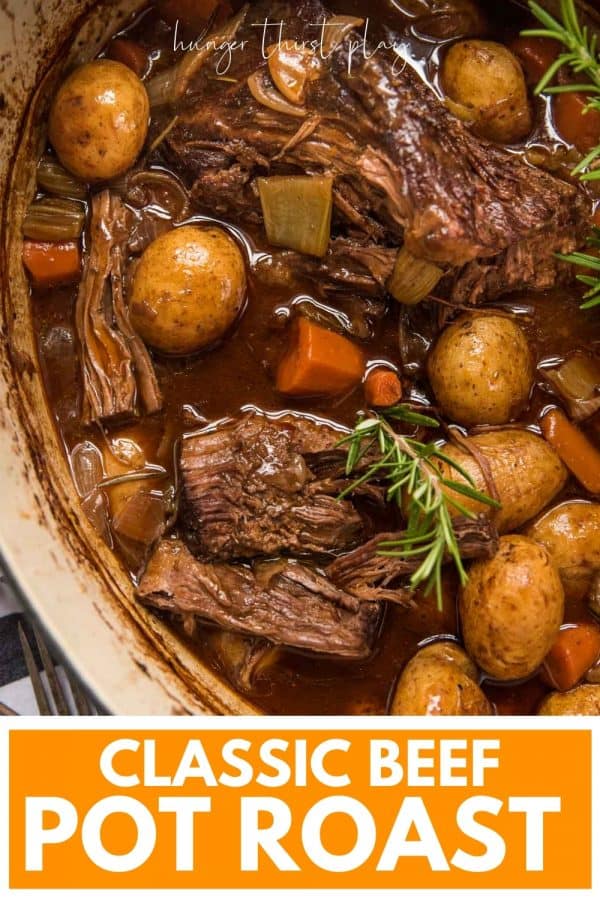
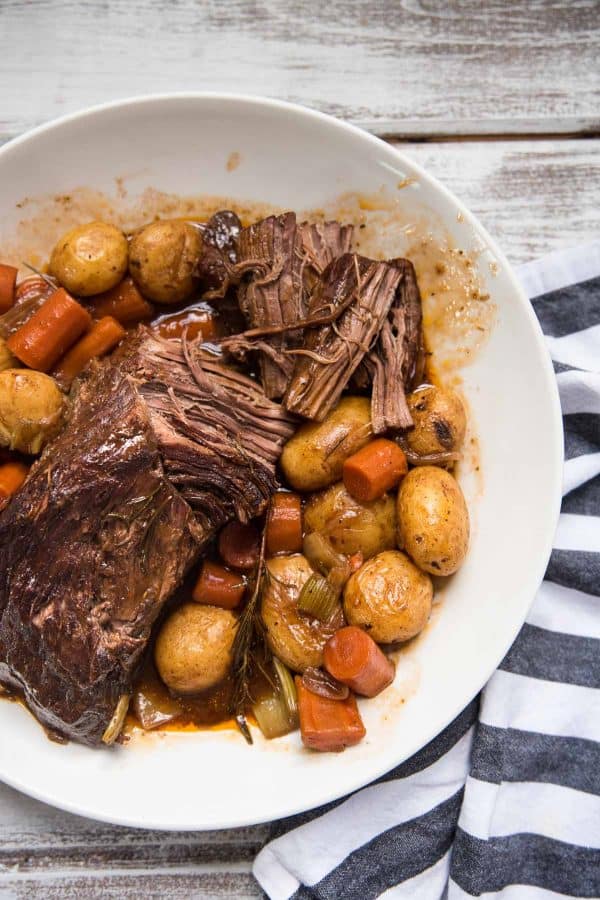
Fork tender, slow braised beef simmered with hearty vegetables and potatoes in rich beef stock with fresh herbs. This classic beef pot roast is simple and perfect to soothe comfort food cravings.
You know those meals that make you feel warm and cozy from the inside out? When the weather shifts, at least here in New England, it's time to break out the list of comfort food go to recipes and Classic Beef Pot Roast is on the top of that list.
Granted, right now Mother Nature seems to have been enjoying a few too many sangrias because it's the end of September and still 90°F in Boston, but it's ok, we can repeat this pot roast once it's flannel weather.
But why should be excited for pot roast?
- Uses less expensive cuts of meat
- Easy to find ingredients
- Better than Yankee Candle smell through the whole dang house
- Simple preparation
- Feeds a crowd with minimal effort and expense
Classic comfort food
What makes this pot roast classic? This recipe is actually inspired from a 1983 Southern Living Cookbook I picked up in a consignment shop for $5.00 - with a few tweaks like fresh herbs and cooking in the oven rather than the stove top.
(It also turns out that things like mayonnaise cake and gelatin salads were also very popular in 1983 but we won't be venturing down that path anytime soon.)
It's a classic, go to recipe filled with simple and easy to find ingredients. The pot roast is braised on the stove top to start the cooking process then the vegetables are given a quick sauté in the same pan. Following that all the ingredients go into the pan, it's covered then you'll cook it in the oven for a few hours until the roast easily breaks apart with a fork.
Sounds pretty manageable right? It is!
What cut of beef for pot roast?
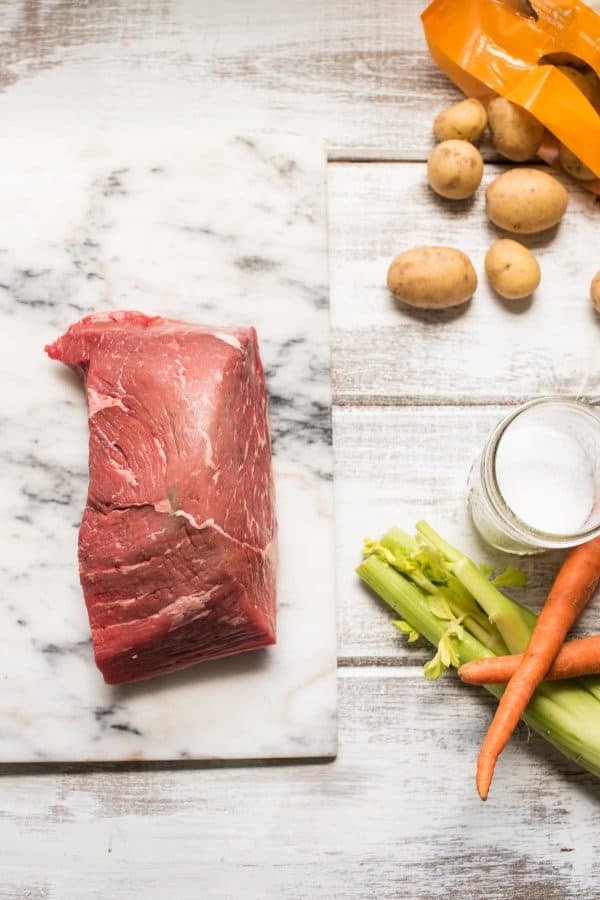
Really, any tough, lean cut of beef is perfect for pot roast! You want a 3 to 5 pound cut that would be complete hockey puck if you were to sear it like a steak.
Here's what you should look for in the store:
- Chuck: A lot of times this cut will be labeled "pot roast" in the meat department of the grocery store. You can look for cuts like "chuck roast" or "boneless chuck roast." It's a tough cut with a lot of connective tissue. It will still have some fat to the roast which will simmer into the gravy during cooking.
- Round: A round cut is taken from the rear leg of the cow so it sees a lot of work, so this cut of muscle is used by the cow frequently and is leaner than a chuck roast. I prefer round buts because they have less fat and are generally smaller and perfect for a four person meal. You'll find these cuts labelled "bottom round" "eye of round" and "top round" at the store.
- Brisket: The brisket cut comes from two different muscles in the front part of the cow. The "point cut" or the deckle is going to be the fattier part and flat cut or "first cut" is leaner.
Whichever roast is the right fit for you, they'll all end up delicious! Just a few simple steps will get us there.
How to make Classic Beef Pot Roast
First step to starting any sort of beef cooking. Close your eyes and channel your inner Salt Bae. Pat the roast dry and then season all sides of it liberally with salt and black pepper. More liberally with the salt than the pepper.
Grab your go to heavy bottom pan.
WHICH PAN SHOULD YOU USE FOR POT ROAST?
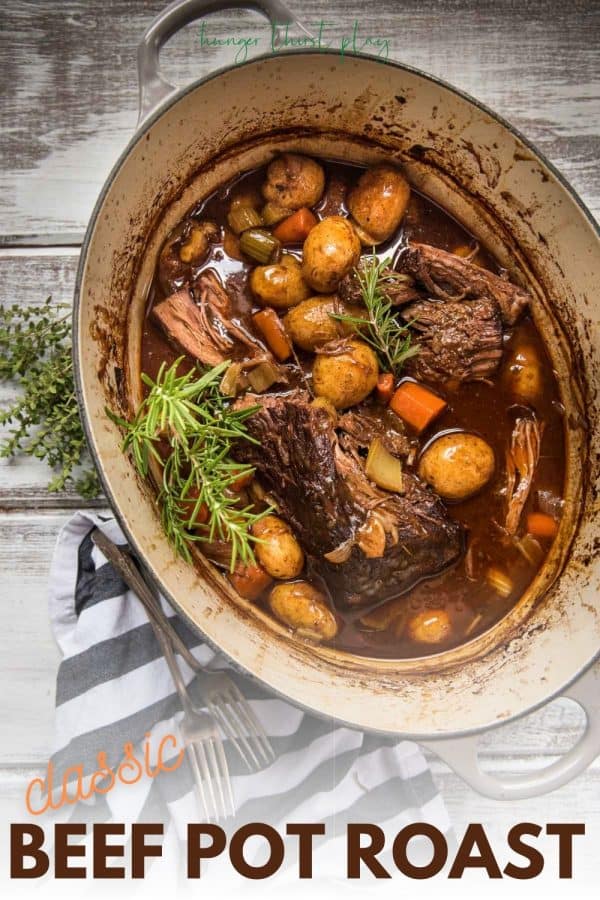
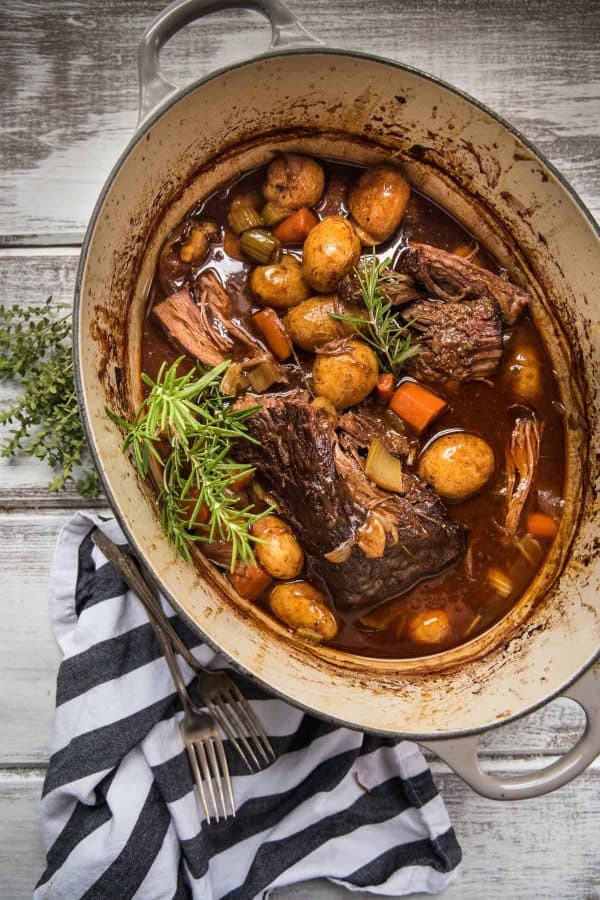
Personally, I'll always grab my Le Creuset enamel coated oval dutch oven. They're really pricey but if you treat them good, they last forever and they are soooo easy to clean. I scored one at Homegoods over less than half the price.
If you're in the market for more affordable options, both Cuisinart and Lodge have great options for enamel coated and standard cast iron. Personally, Lodge brand is one of my favorites for their cast irons so that would be my go to choice.
Don't have a dutch oven? Don't stress you can still make pot roast, your pan just needs to fit these super important criteria:
- Your pan has heavy bottom so you don't burn all that goodness inside
- Has a tight fitting lid to keep all the moisture and heat in during cooking
- The sides are high enough to hold the liquid, vegetables and roast
Whatever you can find that will do those three things, you'll be on your way to comfort food nirvana.
WHY SHOULD YOU SEAR THE POT ROAST?
Fun fact, searing doesn't actual 'seal in the flavor'. It's just a way to get a chemical reaction started in the meat and starts the break down of all those tough connective tissues we talked about during the cut selection.
The end result makes for tastier eats so it's worth the extra step but if you can't do it, your pot roast journey is not predetermined for failure.
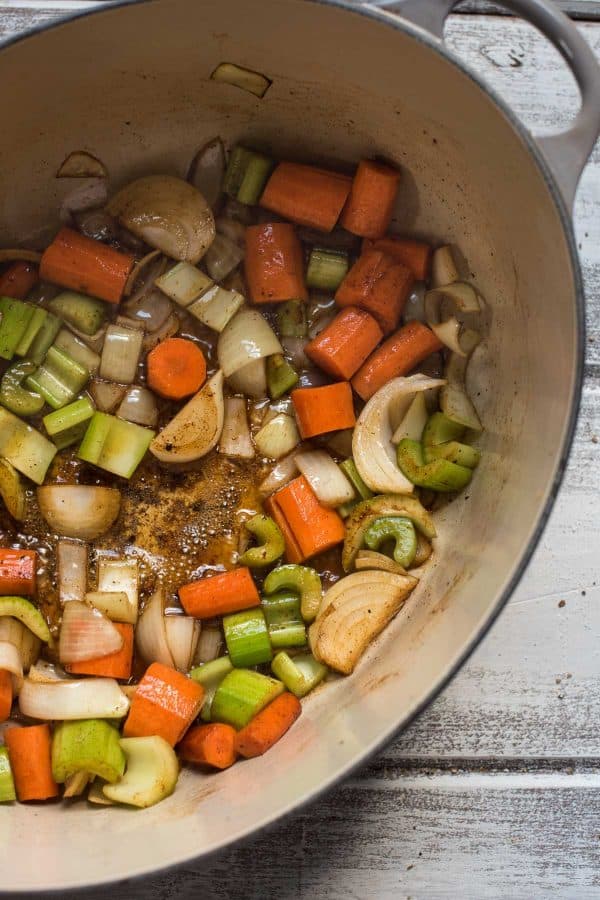
Following the searing, remove it quickly from the pan and give the veggies a quick sauté. The veggies will pick up any fat flavors from the roast and add it to the gravy during the slow cooking in the oven. Then we have our magic sauce step.
Coat the veggies with flour before adding the wine. The flour will thicken the sauce and by tossing it with the veggies first we won't end up with any flour clumps in the sauce. Win win. For a gluten free option, substitute half the amount of flour with corn starch.
Those are seriously the hardest parts. That's it.
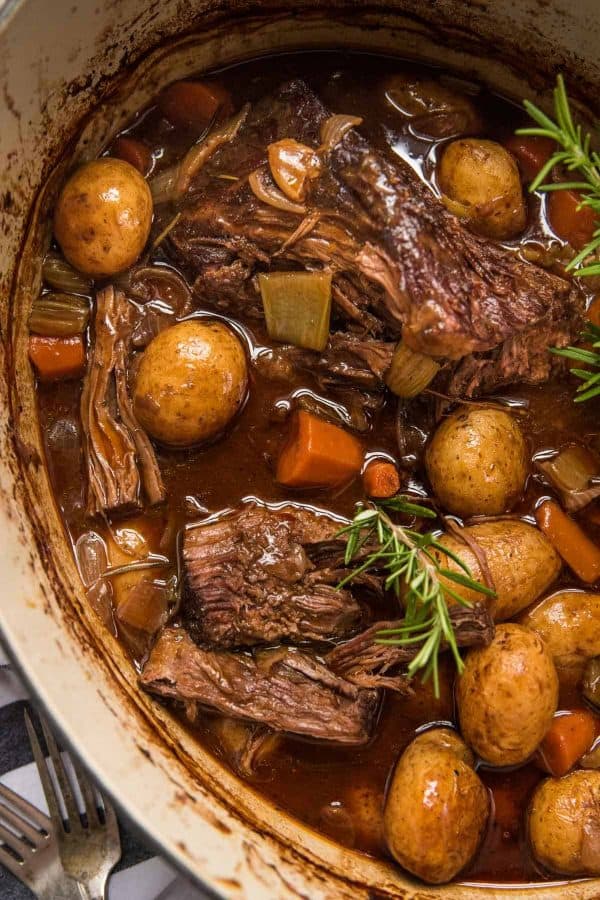
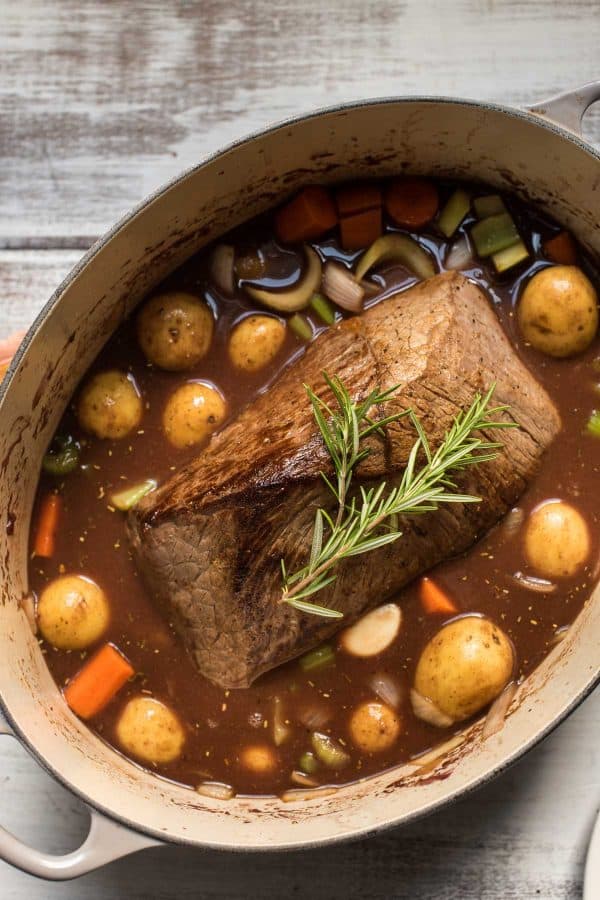
From this point on we add all the other ingredients to the pan. Put a lid on it. Shove it in the preheated oven and forget about it for about 3 to 5 hours (depending of the size of the cut you used).
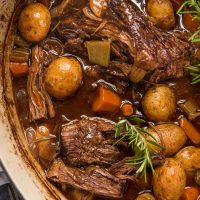
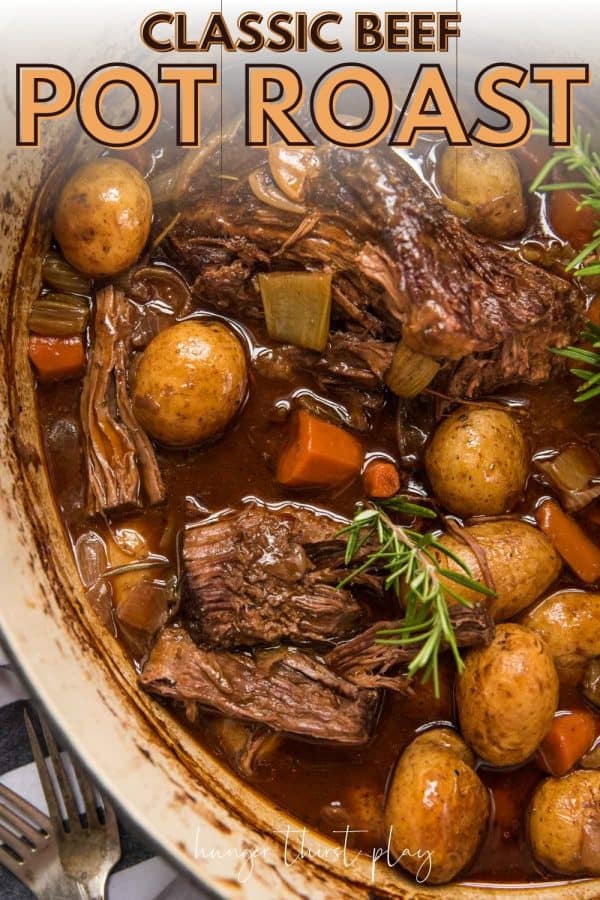
Isn't that beautiful?!
WHAT TO SERVE WITH POT ROAST?
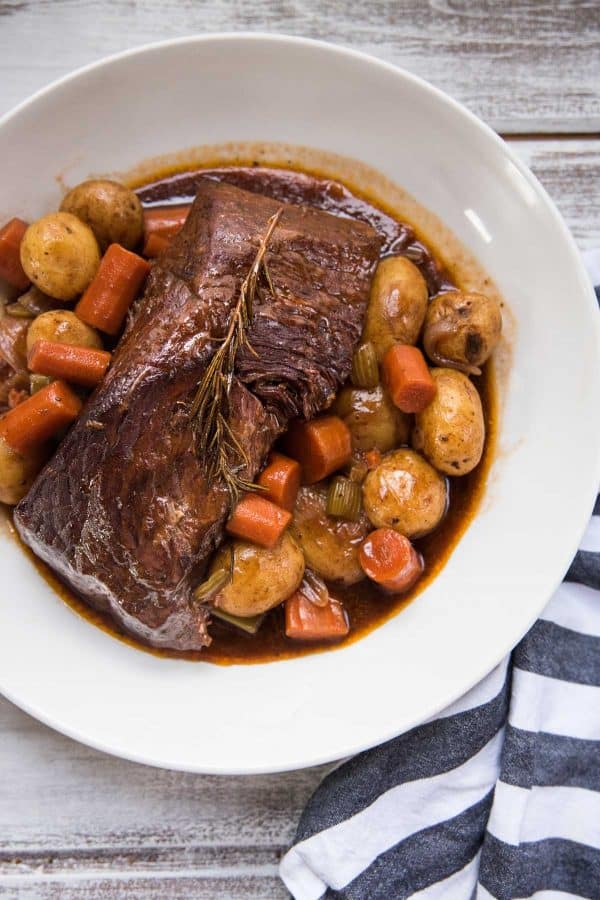
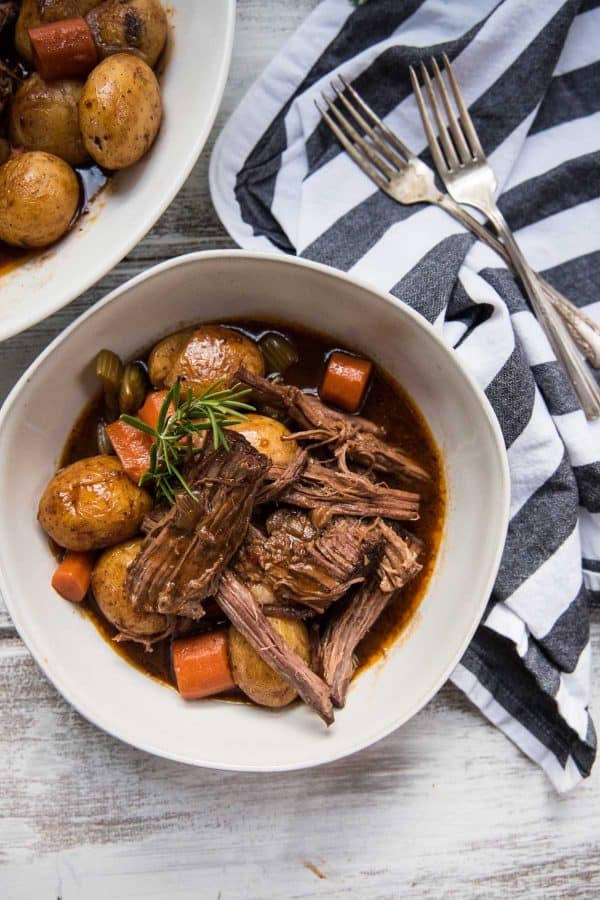
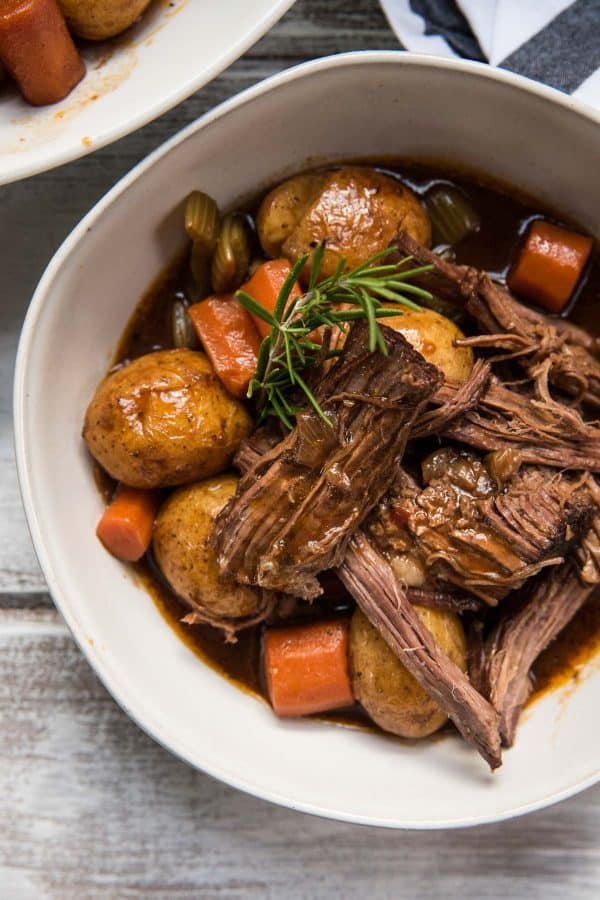
All the goodness inside the pan! In this house we take all those aromatics vegetables, the gravy and tender piece of pot roast and dish it out in a bowl alongside a piece of crusty bread. This Roasted Garlic Crusty Soup Bread is no knead and perfect for sopping up that gravy.
If looking for another side dish, go for something light and simple! A simple greens salad with a light lemon dressing is perfect, the acidity in the dressing will compliment the richness of the pot roast well.
Another classic option would be to skip putting whole potatoes in the dutch oven and make them into mashed potatoes instead. If you're up for a little more work, this will be a taste bud pleasing option.
Lastly, if low carb is your goal you should try Elizabeth's mashed cauliflower in place of potatoes. This dish is creamy and full of buttery herb flavor.
LOOKING FOR MORE COMFORT FOOD GOODNESS? TRY THESE RECIPE IDEAS!
- Guinness Braised Short Ribs
- Fall Pumpkin and Beef Chili
- Date Night Veal Osso Bucco
- Italian Braciole in Slow Simmered Sauce
Classic Beef Pot Roast
Ingredients
- 3 to 4 pound bottom round (chuck roast or brisket cut)
- 2 tablespoons canola oil
- 2 tablespoons unsalted butter
- 1 yellow onion (½” dice)
- 3 medium carrots (peeled and chopped)
- 3 stalks celery (trimmed and chopped)
- 1 pound small yellow potatoes
- 3 cloves garlic
- ¼ cup all purpose flour
- 1 cup red wine
- 2 10-ounce cans beef consummé (see notes)
- 2 teaspoons Italian seasoning
- 1 pinch red pepper flakes
- 1 large spring fresh rosemary
Instructions
- Preheat the oven to 350°F. Season all sides of the roast liberally with salt and pepper.
- On the stove top, heat the dutch oven over high heat. At the oil and butter and once melted and hot, sear the roast fat side down first for 3 minutes, top side for 3 minutes and each short side for 2 minutes.
- After searing, remove the roast from the dutch oven to a plate. Add the onion, celery and carrots to the pan. Sauté for 2 to 3 minutes then sprinkle the flour over the veggies and stir well to coat all the vegetables with flour.
- Reduce the heat to low and add the wine to the pan, stir well to mix the flour into the wine - the liquid will thicken as it reduces. Repeat with the beef consummé until the wine and the consummé are well combined.
- Add the potatoes, garlic, Italian seasoning and red pepper flakes. Return the roast and any drippings to the pan, fat side down, and top with the rosemary sprig. You might need to wiggle the pot roast in-between the vegetables so that it is sitting the sauce. The roast will need the liquid to braise and become tender.
- Cover the dutch oven and place on the bottom third rack. For a 3 lb roast, cook for 3 ½ hours. Anything over 3 lbs cook for 3 ½ to 4 hours or until the roast easily breaks away with a fork.
- Serve a piece of pot roast over generous portions of the vegetables and sauce. To thicken the sauce, remove the roast and simmer on the stove top over low heat for 5 minutes. To remove any oil/fat that settles on the top, lightly skim the top with slices of bread or if serving later, refrigerator the whole pan and skim the fat off once it solidifies.
Notes
- Beef stock can be substituted for beef consummé
- To make this gluten free, substitute the flour for ⅛ cup corn starch
Nutrition
Donna says
My husband said this was the best pot roast I have made and I agree, delicious!
Leslie says
Pot roast is my comfort food, and the flavors in this recipe are *chefs kiss*!
Tom says
This looks really good, but I'm wondering how the vegetables can cook as long as the roast without being mushy. I see one comment said the vegetables were done quite a bit earlier than the roast.
Lauren says
Hi Tom! The veggies do finish at a tender texture, but not to the point they're falling apart when you serve them. That said, you could transfer the veggies to a separate plate about 2/3 of the way through cooking and return to the pan about 5 minutes before it's done to reheat if you want a firmer texture. Thanks!
Carole says
I’ve made this a few times, and it truly is wonderful. Added a few extra veggies (green beans, Brussels sprouts, ), and it just gets better and bettter. And too, used vegetable broth in place of beef!! This is a definite keeper!!
Lauren says
Thank you Carole!!
Josefina says
Thank you for sharing your recipe! It is absolutely delicious! I’ve attempted many pot roast recipes and I have mostly failed but I followed yours as closely as possible and it came out fantastic!
Sarah says
What type of red wine did you use? I’ve never cooked with wine before so I’m not sure what to get??
Lauren says
Anything will work! I would try to stick to merlot, a blend, or cabernet sauvignon and not a lighter variety like pinot noir. It doesn't have to be anything fancy or expensive either!
Anna says
I am making this right now! The gravy is delicious but all of my veggies were competely done about 1.5 hours in. I have removed them and am now waiting for the meat to finish. I would definitely suggest removing the meat, adding the vegitables, then add the meat back on top, when there's still 1/1.5 hours left... planning on adding the veggies back in once the meat is finished. Fingers crossed!
Erin At. says
How did adding the meat back in after removing the veggies work for you? I'm planning on making this tomorrow! 🙂
Rebekah says
Could I make a 5-5 1/2 lb roast in a 7.25 quart Dutch oven? I’m serving 9 people Tomorrow and that’s the only size le creuset I have!
Mandie Arland says
Can you make this in a crock pot?
Lauren says
Absolutely! If possible, I would recommend still searing the pot roast in a pan through the point of adding the wine then transferring to a crock pot. If you want to just put it all in the crock pot that will work too though. Cook on low for 6-8 hours.
Tommy V says
This is an excellent and easy recipe for pot roast. Very simple to make and the result was delicious. I added a frozen bag of pearl onions to give the dish a bit of sweetness. The recipe does not call for salt and pepper, but both are needed. Mushrooms would probably add more moisture and another level of flavor for those who like them.
DutchOvenBeginner says
what size of dutch oven did you use? I have a 4quart.
Lauren says
the dutch oven in these photos is an 8-quart oval, but the ingredients only fill about half way up the pan.
Lori says
Made this today in my Dutch oven I received for Mother’s Day. Thankfully, we were able to eat everything and it tasted pretty good, but I had no liquids left to reduce or thicken. 🙁 not sure what I did wrong?
Lauren says
Hi Lori - sorry you had trouble, i'm not terrribly sure what went wrong either. Sometimes if the veggies might absorb a little more liquid, or maybe the simmer was more than it needed for your particular cut of roast and the liquid cooked off? I'm glad you enjoyed the meal and happy mother's day!
Rebekah says
This recipe was wonderful. Best I've ever had@ Didn't change a thing! Very easy to put together! Next time, I might add a few mushrooms.
Thank you so much for sharing!
Lauren says
So glad you loved it!
Wendy says
In the blog I’m assuming you mean “searing” not braising when you talk about “sealing in flavor”. Braising requires cooking in liquid. That said, I am using this recipe tonight... sounds delicious.
Joelle says
You're totally right, Wendy. I was so confused when she talked about braising....
Lauren says
You're both totally right. Sorry for the confusion! I'm going to blame that accidental word switch on mom brain, thank you for catching it!
Krista says
I’ve made this recipe a couple of times and it’s excellent! The last time I added about a tablespoon of sweet hot mustard and it was even better!