You know that feeling you get when someone tells you the plan for dinner is a really good soul, warming Italian meal? You're overcome with like 5 parts nostalgia, 2 parts garlic lover, and 3 parts 'cheese and carbs til I die club'? We're tucking in to pasta and sauce, in whichever variety fits your lifestyle, but....is it really soul comforting if there's no garlic bread? Like the cherry on a Sunday, these Savory Mozzarella Garlic Rolls are coming in to assist.
We're eating them this week with Creamy Vegan Tomato Soup instead of a typical grilled cheese and as is with a side of dipping sauce at girls' lunch. Or if talk of noodles has you getting the pasta sweats, Savory Mozzarella Garlic Rolls are the perfect companion to these Cheesy Mozzarella Meatballs.
Think cinnamon rolls without all the sweet stuff, but keep the butter. Savory rolls are easiest if made in the standing mixer with the bread hook attachment. Read: no kneading. Yup, that's right. Zilch, zero, none. Looks like arm day is going to have to wait for the gym and we can keep our counters clean. Plus, you can finally say you've used the dough hook attachment on your standing mixer. (Don't worry, the recipe includes instructions if you don't have a standing mixer, it's just going to involve a little mess and elbow grease.)
Proofing Tips
IMO, the best way to prep savory mozzarella garlic rolls is making the dough the night before so you can just throw it in a greased bowl, let it rise til double before bed, then toss it in the fridge until you want to make them the next day.
Or you can even get those steps done in the morning and let the fridge proofing happen while you go about the rest of your day if the plan is to serve these with dinner. However you have your day/night scheduled, make sure they get at least 4 hours of shut eye in the fridge but overnight is best.
Also, I learned this tip from Sally's Baking Addiction that really changed my bread making game. So the first rise...it's kind of a drag right? You just want to be done with these Savory Mozzarella Garlic Rolls project for now, but you keep coming back to check on the dough until it's double in size? Here's her pro tip: preheat the oven to 200°F, shut it off and place the dough (covered) inside with the door open just a crack.
Mind. Blown.
That teenie bit of heat from the oven creates a lovely, warm environment to help the yeast thrive and grow in half the time without baking the bread. Look at you, you yeast bread master.
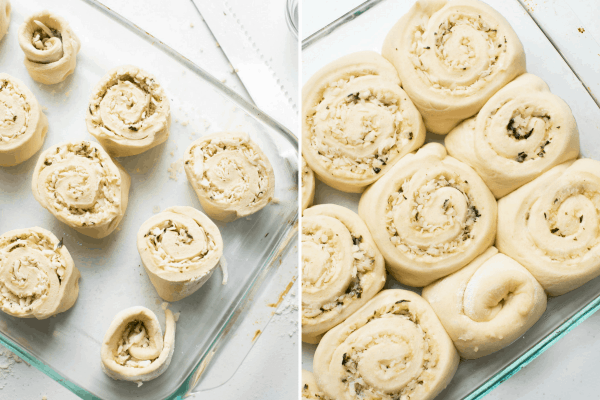
The next step after the overnight chill and rolling out your dough is to fill it, roll it, cut it, and let the mozzarella garlic rolls rise again. And yet again, another tip. While the oven is pre-heating to 350°F, place the baking dish covered with a linen towel on the stove top. Since the oven will take a bit to preheat, the heat radiating to the stove top is going to help those rolls rise yet again. Resulting it double the size goodness.
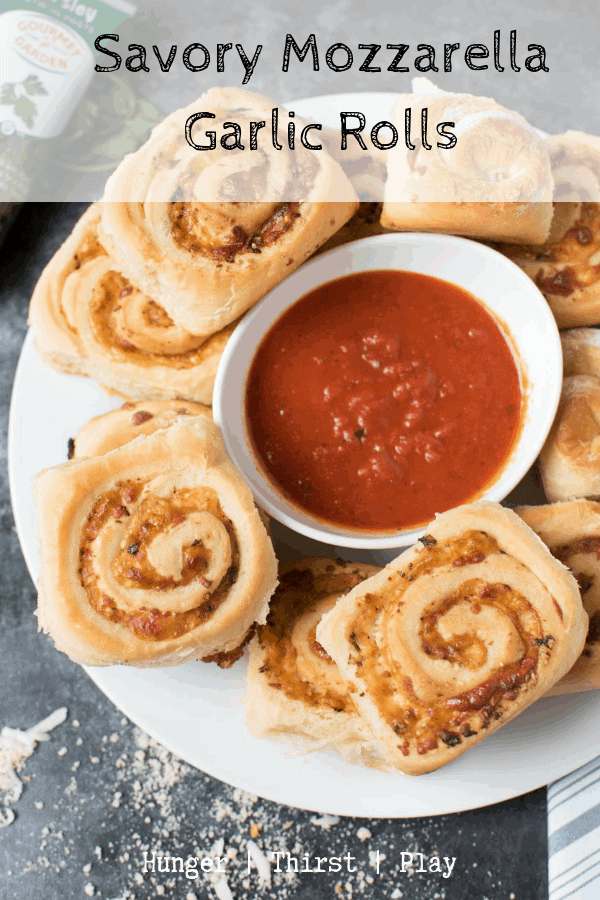
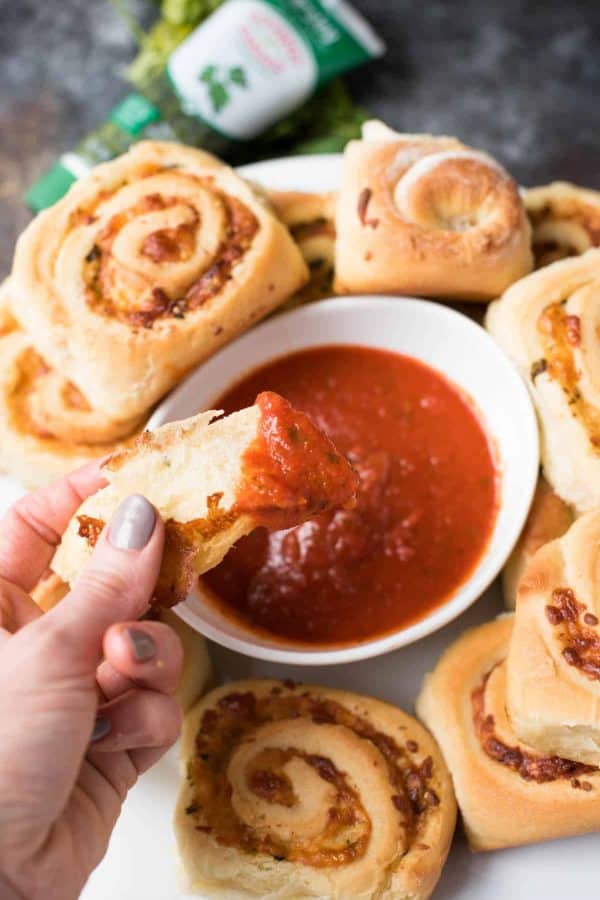
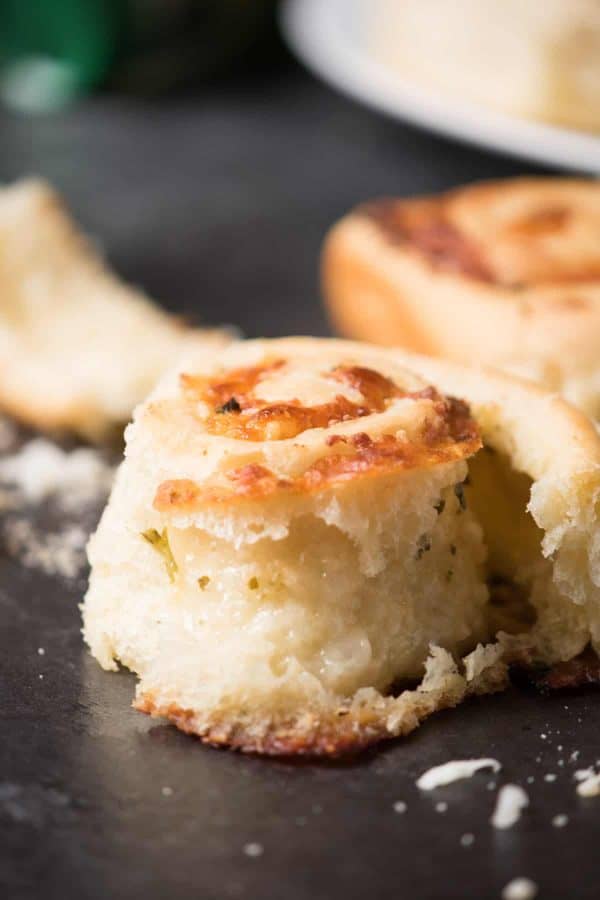
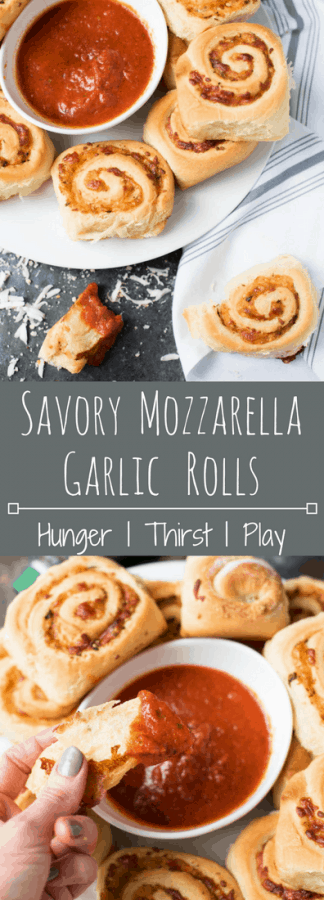
That's it. A quick bake in the oven and you're the recipient of divine savory mozzarella garlic rolls. A big bowl of pasta sauce for dipping makes the perfect companion. Whether or not you plan to share, well....that's up to you.
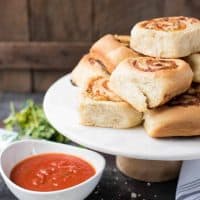
Savory Mozzarella Garlic Rolls
Ingredients
Dough
- ½ cup whole milk
- ½ cup water
- 2 ¼ teaspoon active dry yeast (one packet)
- 2 tablespoons granulated sugar
- 4 tablespoons unsalted butter
- 1 large egg yolk
- 3 cup all purpose flour (plus a little extra for rolling out the dough)
- 1 teaspoon salt
- additional butter or shortening for greasing the bowl
Filling
- 4 tablespoons unsalted butter (melted)
- 6 ounces fresh grated whole milk mozzarella cheese (about 2 cups, see notes)
- ¼ cup parmesan cheese (grated)
- 1 ½ tablespoon garlic (minced)
- 1 tablespoon parsley paste (see notes)
- Optional: 1 ½ cups pasta sauce for dipping
Instructions
For the dough:
- Warm the milk and water in a small saucepan over low heat to about 100°F. If you don't have a thermometer, the milk should be warm enough you can hold your fingertip in it. If the liquid is too warm it will kill the yeast.
- Remove the saucepan from heat and sprinkle the liquid with the yeast and a pinch of the sugar from the 2 tablespoons. Do not stir. Let the mixture stand for 5 minutes.
- Whisk together the butter and egg yolk, then whisk into the milk and yeast mixture. Set aside.
- In the standing mixer, combine the flour, sugar and salt. Stir to combine. Using the bread hook, on low speed slowly add in the wet ingredients. Once incorporated, increase the speed to medium low (#4 on a Kitchenaid mixer) for 2 full minutes. The dough will be tacky and may require scraping from the bottom of the bowl, but should pull away from the sides.
- Transfer the dough to a large greased bowl. Vegetable shortening or unsalted butter is perfect for lightly greasing the bowl.
- Cover the bowl with plastic wrap. Place in a preheated 200°F oven, with the oven off and the door slightly cracked. Let rise until double in size, 45 minutes to 1 hour, then transfer to the fridge to proof overnight (or for a minimum of 4 hours.)
- After resting, transfer the dough to a lightly floured surface and roll into a rectangle with ¼" thickness.
- In a small bowl, combine the melted butter, garlic and parsley paste. Brush the dough evenly with he mixture, using all of it. Sprinkle with mozzarella and parmesan cheese.
- Roll the dough to form one long cylinder, brushing the very edge with melted butter or water to seal it. Cut the rolls 2 to 2 ½ inches thick and place in a greased 9x13 baking dish.
- Preheat the oven to 350°F with the baking dish on the stove top, covered with a linen towel. Let rise until double in size, about 30 minutes. Bake 25 to 30 minutes until golden brown.
- Serve right away or if serving later, reheat until warm before serving. Optional: serve alongside a bowl of your favorite pasta sauce for dipping.
Notes
- Fresh grated mozzarella is going to be the meltiest, gooiest option. You can absolutely substitute a pre-shredded version, but it may not melt 100%. There's just something about pre-shredded cheese that does that.
- Parsley paste is an amazing quick fix! Instead of buying a whole bunch of parsley and using a quarter of it while the rest goes bad over the next week, you can use just what you need without making a mess and the paste keeps in the fridge for much longer.
Nutrition
Did you make this recipe? Tell me about it in the comments!
Leave a Reply